
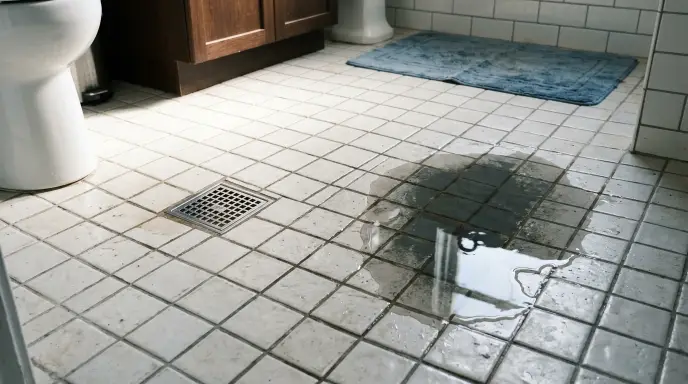
How to Stop Water Pooling on a Bathroom Floor (Easy Fixes for Poor Drainage & Uneven Tiles)
Nothing ruins the post-shower experience like stepping onto a bathroom floor and feeling water squish under your feet — again. If puddles keep forming near the drain, along the walls, or in random low spots, you’re not imagining things. Your floor has a drainage problem, and in most cases, it’s fixable without tearing out the entire room.
Quick answer: Bathroom floors pool water for one of four reasons — a clogged drain, a sunken or uneven tile, a damaged waterproofing layer, or a shower pan that was never sloped correctly during installation. Only the shower area is required to slope (¼ inch per foot toward the drain, per IPC/TCNA standards); the rest of the floor should be level. Once you know which one you’re dealing with, most fixes take an afternoon and under $100 in materials.
Let’s break down exactly how to diagnose the cause and fix it — starting with the cheapest, fastest options first.
Table of Contents
1. Why Is Water Pooling on Your Bathroom Floor? (Diagnose Before You Fix)
Before buying anything, spend five minutes figuring out why water is collecting. Fixing the wrong problem wastes time and money.

The Slope Rule Everyone Gets Wrong
Here’s something most articles get wrong: the ¼-inch-per-foot slope rule (a roughly 2% gradient) required by the International Plumbing Code and the Tile Council of North America (TCNA) applies only to the shower pan — the wet zone directly under the showerhead, sloping toward the drain.
The rest of your bathroom floor — near the sink, toilet, and doorway — is meant to be level, not sloped. If water is pooling outside the shower, that’s not a “missing slope” issue; it’s almost always a sunken tile, a settled subfloor, or water overflowing the shower area onto flat tile.
Knowing this distinction matters, because if you start adding slope to the dry part of your bathroom floor, you’ll just create a new low spot somewhere else.
The Bucket Test (Do This First)
This is the fastest way to find your actual problem area:
- Pour a bucket of water slowly onto the floor near where pooling usually happens.
- Watch where it settles for 30–60 seconds.
- Pro tip: Add a few drops of food coloring to the water first. On light-colored tile, this makes it much easier to trace the exact boundary of the pool and see which direction it’s trying to drain — rather than guessing based on a thin water film that’s hard to see.
Based on where the water sits, you’re likely dealing with one of these:
- Water collects right at the drain and won’t go down → clogged or faulty drain
- Water pools in the middle of the shower floor → sunken tile or failed original slope
- Water spreads past the shower curb into the dry area → shower isn’t containing water properly (see the Water Guard fix below)
- Water pools near grout lines or edges → cracked grout or a failed waterproofing membrane underneath
Water dripping from hands and splashing over the rim of the basin often leads to slippery puddles directly in front of the counter. Upgrading to a safe and properly sloped bathroom sink keeps floors dry and secure.
2. The Hidden Dangers of Standing Water (Don’t Ignore This)
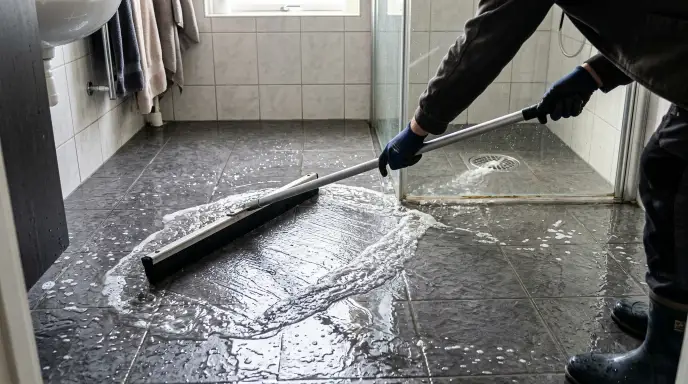
Pooled water isn’t just annoying — left untreated, it causes real damage and real risk:
- Mold and mildew grow in as little as 24–48 hours in damp grout lines
- Subfloor rot, especially in homes with wood subfloors under tile
- Bad odors from bacteria buildup in stagnant drain water
- Ceiling stains or water damage in the room below, if water is seeping through the floor
- Slip-and-fall risk — standing water on tile is one of the most common causes of bathroom falls
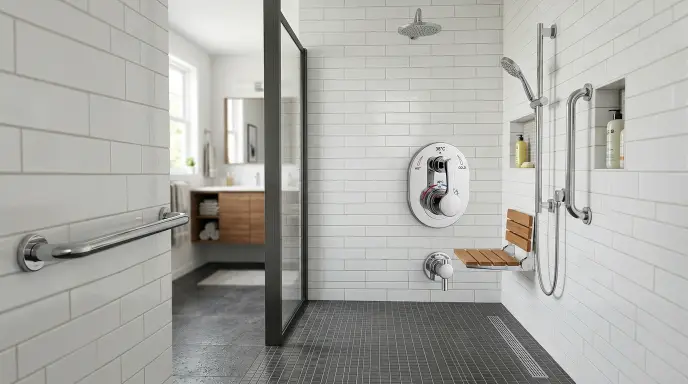
Until drainage issues are resolved, reinforce wet pathways with tactile aids and verify where to install bathroom grab bars for quick stabilization.
A Note for Households With Elderly Family Members
Standing water on a bathroom floor isn’t just a maintenance annoyance — it’s one of the top preventable causes of slips among older adults. If mobility or fall prevention is a concern in your home, review our detailed guide on slippery bathroom floor safety for elderly adults to inspect high-risk areas and add essential traction solutions.
If you’ve noticed any of these warning signs, don’t wait — start with the temporary fixes below today, then move on to a permanent repair this week.
3. Instant Temporary Fixes (No Tools, No Renovation)
These won’t fix a structural slope problem, but they’ll stop the damage and discomfort right away—most take under 15 minutes.
Unclog the Drain First
A slow or clogged drain is the single most common cause of bathroom floor pooling, and it’s the easiest to fix.
- Pour ½ cup baking soda down the drain, followed by 1 cup white vinegar
- Let it fizz for 10–15 minutes
- Flush with a kettle of hot (not boiling) water
- If the clog persists, use a drain snake or enzyme-based cleaner rather than harsh chemical drain openers, which can damage older pipes
Install a Drain Hair Catcher
A $5–$8 silicone mesh or dome-shaped hair catcher sits over the drain and stops hair and soap scum from building up inside the pipe — the #1 cause of drains slowing down again a few weeks after cleaning.
Add a Collapsible Silicone Water Guard
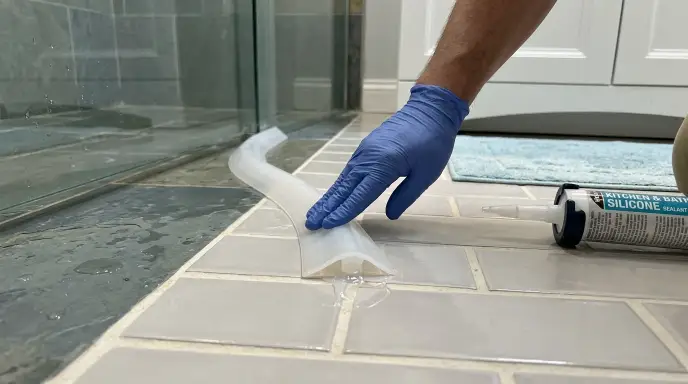
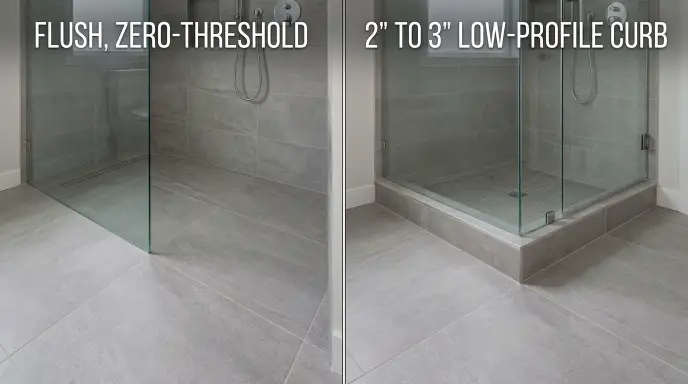
This is probably the single best-value fix on this list. A flexible silicone strip (sometimes called a shower water dam or threshold guard) presses against the shower curb or doorway and folds flat when not in use. It physically stops shower water from escaping into the dry part of the bathroom — which is often the real reason water is “pooling” outside the shower even when the drain works fine. To prevent standing water from crossing outside the wet zone, learn how proper threshold drainage in curbless showers stops leaks at the entrance.
Cost: $10–$20, no tools or installation required.
Squeegee After Every Shower
Squeegee After Every Shower
A wall-mounted squeegee takes 20 seconds to use and keeps water off grout lines long enough to seep in or grow mildew. For a complete routine covering high-absorbency runner placement, airflow management, and fast water removal, see our proven strategies to keep your bathroom floor dry after a shower.
4. Permanent DIY Drainage Solutions
Once you’ve identified the actual cause, here’s how to fix it for good — without hiring anyone.
⚠️ Important Safety Note Before You Start
Never use standard self-leveling cement to fix a bathroom floor’s slope. Self-leveling compounds are engineered to create a perfectly flat surface — the opposite of what a shower drain needs. Using it in a shower pan or sloped area will make pooling worse, not better. For slope repairs, you need a slope-adjustable repair mortar (sometimes labeled “deck mud” or “pitch mortar”), which can be feathered and shaped to maintain a gradient toward the drain.
Fixing a Sunken or Uneven Tile
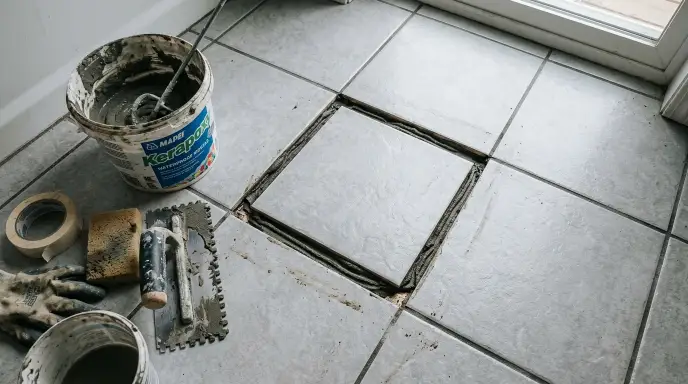
Tools needed: grout saw, margin trowel, notched trowel, tile adhesive or thinset, replacement grout, rubber mallet
- Use a grout saw to carefully remove grout around the affected tile
- Gently pry up the tile with a putty knife (a heat gun can help soften old adhesive)
- Scrape off old thinset from the subfloor
- Apply fresh thinset with a notched trowel, building up the low area slightly to match surrounding tile height
- Reset the tile, tap level with a rubber mallet, and check with a level or straightedge
- Let cure for 24 hours before re-grouting
- Re-grout and seal with a flexible, waterproof grout sealant
Fixing subfloor slope solves drainage problems, but the surface finish itself must also provide mechanical traction when damp. Check our complete breakdown of slip-resistant bathroom flooring for seniors to see how seamless vinyl and mosaic tiles perform around wet drainage zones.
Resurfacing Low Spots in the Shower Pan
If the whole shower floor lacks proper slope (common in older homes), a slope-adjusting repair mortar — not a flat self-leveler — can rebuild the pitch toward the drain. This is a moderately advanced DIY project; if you’re not comfortable working with a notched trowel and checking slope with a level as you go, this is a reasonable point to call a tiling professional instead (more on that in Section 7).
Re-Grouting and Re-Sealing
Cracked or missing grout lets water seep beneath the tile, where it has nowhere to drain and starts rotting the subfloor.
- Remove damaged grout with a grout saw
- Apply new sanded or epoxy grout
- Once cured, apply a polyurethane-based grout sealant to prevent future water penetration (reapply every 12–18 months)
5. Renters’ Guide: Fixing Drainage Without Renovating
If you’re renting, ripping up tile isn’t an option — but you’re not stuck with a soggy floor either.
- Silicone water guards and drain hair catchers are removable, require no drilling, and take deposits out of the equation entirely
- A portable dehumidifier in the bathroom keeps moisture from settling into grout and walls between uses
- Absorbent, quick-dry bath mats with rubber backing catch runoff before it spreads
- Document and notify your landlord in writing if you suspect a subfloor or slope issue — this protects you if water damage is later discovered, and most leases require the landlord to address structural drainage problems
While you address drainage issues, ensure stepping zones aren’t treacherous by utilizing heavy-duty, fast-drying bath rugs safe for senior mobility.
6. Cost Comparison: DIY vs. Hiring a Professional
| Repair | DIY Cost | Professional Cost |
|---|---|---|
| Drain cleaning/hair catcher | $10–$20 | $75–$150 (plumber visit) |
| Re-grouting a section | $20–$50 | $150–$300 |
| Resetting 1–3 sunken tiles | $30–$70 | $200–$400 |
| Full shower pan re-sloping | Not recommended for DIY | $500–$1,200 |
| Linear/secondary drain installation | Not DIY | $800–$2,000+ |
| Full bathroom re-tiling | N/A | $1,500–$4,000+ |
7. When to Call a Professional (Be Honest With Yourself)
Some drainage problems go beyond a weekend project, and trying to DIY them can cause more expensive damage later. Call a licensed plumber or tile contractor if:
- The slope deviation is more than about 1 inch across the shower floor
- You find soft, spongy, or discolored subfloor when tiles are removed
- Mold keeps returning even after fixing visible cracks and grout
- You’re considering a linear or secondary drain installation: This requires cutting into tile or concrete, re-pitching subfloors, and rebuilding a waterproof membrane. If you are retrofitting a curbless shower or planning structural modifications for accessible living, consult our complete aging in place bathroom guide before hiring a contractor.
- You’re unsure whether the issue is a plumbing vent problem rather than a slope problem (drains that gurgle or drain slowly throughout the house may indicate this)
There’s no shame in outsourcing this one — getting the slope wrong on a shower pan repair often means redoing the entire job.
8. Maintenance Checklist to Prevent Future Pooling
- ✅ Clean the drain hair catcher weekly
- ✅ Run the baking soda + vinegar treatment monthly
- ✅ Inspect grout lines and silicone seals every 6–12 months for cracks
- ✅ Reapply grout sealant every 12–18 months
- ✅ Use a squeegee after every shower
- ✅ Keep the collapsible water guard in place if your shower doesn’t have a full door
Frequently Asked Questions
Does the entire bathroom floor need to be sloped, or just the shower area?
Only the shower pan (wet zone) needs the standard ¼-inch-per-foot slope toward the drain, per IPC and TCNA guidelines. The rest of the bathroom floor should be level — pooling outside the shower usually points to a sunken tile or subfloor settling, not a missing slope.
Why is my bathroom floor not draining properly?
The most common causes are a clogged drain, a sunken or uneven tile, cracked grout letting water seep beneath tiles, or a shower pan that wasn’t sloped correctly during original construction.
Can I use self-leveling compound to fix bathroom floor slope?
No. Standard self-leveling cement creates a flat surface, not a graded one, and will make drainage worse if used in a shower or sloped area. Use a slope-adjustable repair mortar instead, or hire a tile professional for shower pan re-pitching.
Can I fix an uneven tile floor without removing all the tiles?
Yes, in most cases. Individual sunken or cracked tiles can be removed, re-mortared to the correct height, and reset without touching the surrounding floor.
How much does it cost to fix bathroom floor drainage?
Minor fixes like re-grouting or resetting a few tiles typically cost $20–$70 in DIY materials, or $150–$400 professionally. A full shower pan re-slope or linear drain installation runs $500–$2,000+ when done by a licensed contractor.
Is standing water in a bathroom actually dangerous?
Yes. Beyond mold growth and subfloor damage, standing water on tile is a well-documented slip-and-fall hazard, particularly for elderly household members or anyone with mobility concerns.
The Bottom Line
Most bathroom floor pooling comes down to one of four fixable causes: a clogged drain, a sunken tile, damaged grout, or water escaping the shower zone into the dry floor. Start with the free bucket test to diagnose the real problem, try the $10–$20 temporary fixes today, and tackle the permanent repair — the right way, with slope-adjustable mortar, not self-leveling compound — this weekend.
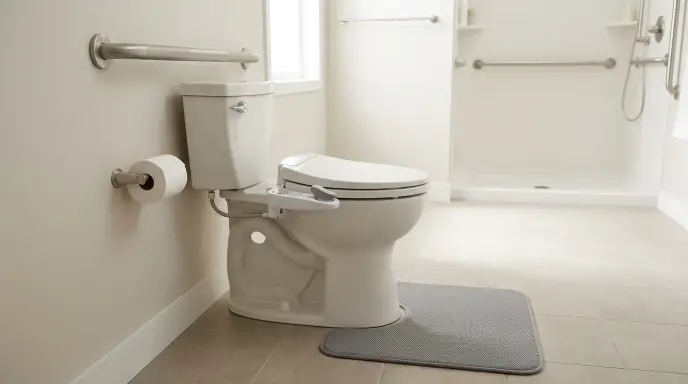
And if standing water is a recurring issue in a household with older adults, don’t treat it as a cosmetic annoyance. Wet surfaces drastically increase the likelihood of critical injuries, making comprehensive senior bathroom safety upgrades — such as grab bars, non-slip thresholds, and step-free transitions — essential for long-term protection.




7 Comments