

Slippery Bathroom Floor? How to Fix It for Elderly Safety Without Replacing Tile
Quick answer: You don’t need to tear out and replace tile to make a slippery bathroom floor safer. In most homes, the floor is fixable with a chemical anti-slip treatment, a non-slip coating, adhesive strips, or, in many cases, just a proper deep clean and regrout. These fixes typically cost a fraction of retiling, take a few hours instead of days, and the bathroom stays usable the whole time. None of them are maintenance-free, though, and knowing what each one requires afterward matters as much as picking the right one. For a complete picture including remodeling costs and financing options, see our aging-in-place bathroom guide.
If you’re reading this because someone in your family has already slipped, or come close, here’s what actually works, and what it takes to keep working. A slippery bathroom floor is one of the most common fall risks in the home. For a full room-by-room breakdown, see our senior bathroom safety checklist.
Note: This article covers general safety information, not personalized medical or occupational therapy advice. If a fall has already happened, or a doctor has raised concerns about mobility, talk to a physician or occupational therapist before making changes.
Table of Contents
Why a Slippery Bathroom Floor Is More Dangerous Than It Looks

A slick tile floor doesn’t look dangerous when it’s dry. The risk shows up the moment water, soap, or lotion hits the surface, and by then it’s too late to notice. While stopping water leaks is critical, compare shower doors vs. curtains for fall safety to ensure your setup does not trade wet floors for dangerous raised tracks.
CDC emergency department data backs this up. A national study found that an estimated 234,094 nonfatal bathroom injuries were treated in U.S. emergency rooms in a single year, and 81.1% of those injuries were caused by falls, not cuts, burns, or anything else (CDC, Morbidity and Mortality Weekly Report, June 10, 2011). The same report found injury rates climbed steadily with age, meaning the risk isn’t spread evenly. It concentrates on older adults.
Water sitting on the surface is the trigger, not the tile itself — which is why how to keep a bathroom floor dry after a shower matters as much as the surface you’re standing on.
What makes a bathroom fall worse than a fall elsewhere in the house is the combination of hard surfaces and very little clearance. A fall onto carpet and a fall onto tile next to a bathtub edge are not the same event, even when the trigger is identical. A wet tile can look deceptively dry under poor lighting. Pairing non-slip treatments with proper glare-free bathroom night lighting helps seniors clearly distinguish slick surfaces in the dark. Thermal shock is a hidden slip hazard—sudden hot water can cause a senior to startle and lose their footing, which is why installing shower scald protection valves is a key preventive measure.
Is Your Floor Actually the Problem? Test It Before You Spend Anything
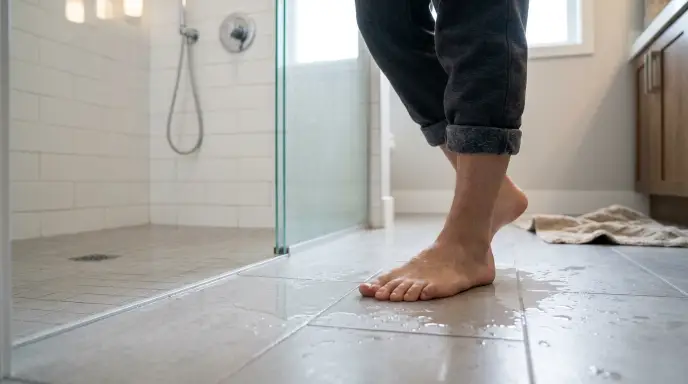
Before buying anything, confirm the floor is actually the issue and not something else, like footwear, medication side effects, or a vision change.
A simple way to check:
- Wet a small section of the floor with plain water.
- Walk over it in bare feet or whatever socks/slippers are normally worn in that bathroom (not shoes, since traction changes with footwear).
- Notice whether your foot slides even slightly when you shift weight, especially near the tub, shower entry, and toilet.
The danger of wet floors spikes dramatically right along the bathtub ledge, where water splashes over during single-leg entry. To eliminate awkward single-leg balance moments, look into low-cost ways to make a high bathtub safe before stepping across wet tile. For a more technical read, flooring professionals use DCOF, or Dynamic Coefficient of Friction, a number between 0 and 1 showing how much resistance a surface offers when wet. The tile industry’s official baseline, set by ANSI A326.3, calls for a wet DCOF of 0.42 or higher on any level interior floor that gets walked on wet. That 0.42 figure is the one number you’ll see referenced as an actual standard.

Some tile manufacturers go further and recommend a higher bar, up to around 0.60, for areas they consider higher-risk for wet, barefoot traffic, such as pool decks, public showers, and locker rooms. It’s not an official elderly-specific standard, and no CDC, NIA, or ANSI document sets 0.60 as a required minimum for senior bathrooms specifically. That said, given how a bathroom floor gets used by someone with reduced balance or a mobility aid, treating 0.60 as a cautious personal target, rather than settling for the bare 0.42 minimum, is a reasonable, conservative choice when you’re comparing flooring or judging how much a treatment actually needs to improve traction.
If the wet test makes you uneasy, or a fall has already happened, this is a good point to bring in a home safety professional or occupational therapist rather than guessing.
6 Ways to Fix a Slippery Tile Floor Without Retiling
1. Chemical Anti-Slip Treatment (Acid Etching)

One of the oldest, most widely used methods. An acid-based solution is applied to the tile, where it slightly roughens the surface at a microscopic level, giving a foot or a walker tip, more to grip.
- How it works: The acid reacts with the tile’s glaze or mineral surface, etching a fine texture into it, similar to glass etching.
- Cost: DIY kits generally run $18 to $45 for a quart to a gallon, enough for a standard bathroom floor. Professional application costs more but includes proper dilution, testing, and rinsing.
- Limitations: Not suitable for natural stone like marble or travertine, which can etch unevenly or discolor. The effect also isn’t uniform on every tile type, some glazes react less predictably than others, so a small test patch in an inconspicuous corner before doing the whole floor is worth the extra half hour.
- Maintenance: The etched texture can gradually fill in with soap scum and hard water deposits over time, the same buildup that dulls untreated tile. Regular cleaning with a pH-neutral cleaner keeps the texture doing its job; wax-based or oil-based cleaners will undo the treatment faster than normal wear would.
- Safety note: This is a real chemical process, not something you can undo by wiping it off. It needs gloves, eye protection, and good ventilation. If you’re not confident handling chemicals safely, hire this out.
2. Non-Acid Anti-Slip Coating
A gentler alternative. Instead of altering the tile chemically, these products form a very thin, often invisible layer that increases grip when wet.

- How it’s different: No acid, generally lower odor, and considered lower-risk for DIY use. Manufacturers commonly claim little to no visible change in the tile.
- Cost: Roughly $0.19 to $1 per square foot depending on brand and grade. For a small bathroom (40 to 60 sq ft), that’s a modest total.
- Limitations: Because it’s a surface layer rather than a change to the tile itself, it’s more prone to gradual wear in high-traffic spots, right in front of the toilet or shower entry, than in less-used areas. Some formulations also aren’t rated for every tile finish, so checking compatibility with polished versus matte surfaces matters before buying.
- Maintenance: Avoid abrasive scrubbing pads and harsh acidic cleaners, both can strip the coating prematurely. Most manufacturers recommend reapplication once effectiveness visibly drops, which varies by foot traffic and cleaning habits rather than a fixed calendar date.
3. Anti-Slip Adhesive Strips
The same idea as the textured strips people put inside a tub, applied to open floor instead.
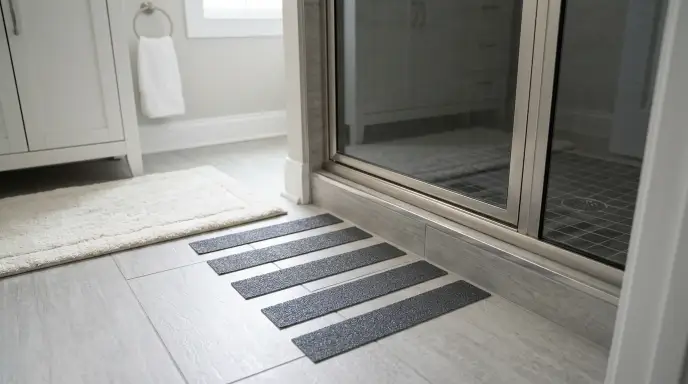
- Best used: At specific high-risk points, like stepping out of the shower, rather than the whole floor, which can look cluttered.
- Cost: $10 to $30 for a set.
- Limitations: Strips only protect the exact spot they cover, not the surrounding floor, so they work best as a targeted supplement rather than a full fix. They also collect grime in the textured surface over time, which can make them harder to keep genuinely clean than a flat tile.
- Maintenance: Check the edges regularly. Constant moisture causes adhesive strips to lift or peel well before they visibly wear out, and a peeling strip becomes its own trip hazard if it isn’t caught and replaced promptly.
4. Textured Non-Slip Mats and Rugs
The most familiar option, and the one most often used incorrectly.
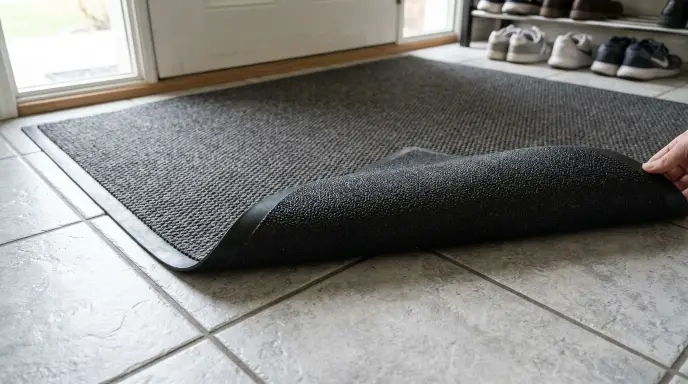
- Why people reach for it: No installation, no chemicals, works immediately, cheap.
- Cost: $15 to $60 depending on size and material.
- Limitations: A rug without a wet-rated, rubber, non-slip backing can slide across a smooth floor, which can be worse than having no rug at all. It also only protects the area it physically covers, so placement matters as much as the product itself.
- Maintenance: Rubber backing degrades with repeated soaking and washing, and once it does, the mat can start sliding even if it didn’t originally. Check the backing periodically for cracking or thinning, not just the top surface for wear.
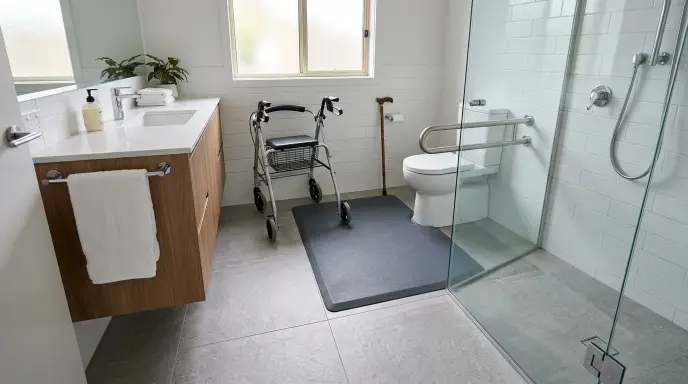
Standard mats can slide underfoot like a sled. To keep vulnerable walking zones secure, look for tested safe bathroom rugs for seniors featuring suction grips or high-friction TPR backing.
Non-slip mats and anti-slip coatings can only do so much if standing water continuously accumulates after every shower. Eliminating puddles at the source is critical for senior safety; check our step-by-step DIY guide to fix bathroom floor pooling and drainage issues to eliminate slip hazards permanently.
5. Anti-Slip Spray (Budget DIY Option)
A lighter version of the coating products above, sold as a spray.
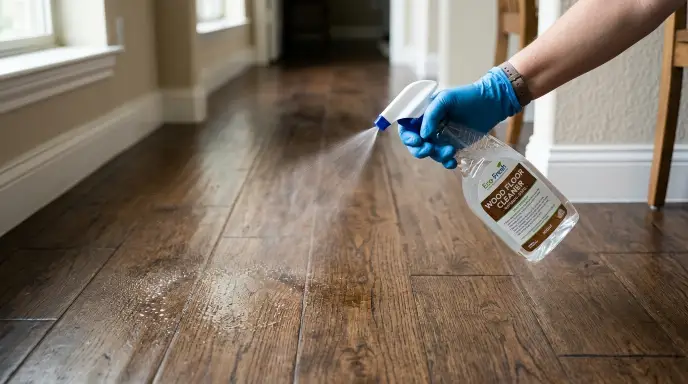
- Who it’s for: Renters, or anyone testing the concept before committing to a fuller treatment.
- Cost: $15 to $30.
- Limitations: The thinnest and least durable option on this list. It’s a reasonable way to trial the idea, but not something to rely on as a long-term fix for a household where falls are already a real concern.
- Maintenance: Effectiveness typically fades within weeks to a few months of regular use, so it needs to be reapplied on a schedule rather than treated as a one-time job.
Even with anti-slip coatings, a momentary slip can happen. Having secure hold points via correct safety bar installation can stop a slip from turning into a devastating fall.
6. Deep-Clean and Regrout the Existing Tile
The option almost no one covers, and often the first thing worth trying in an older bathroom.
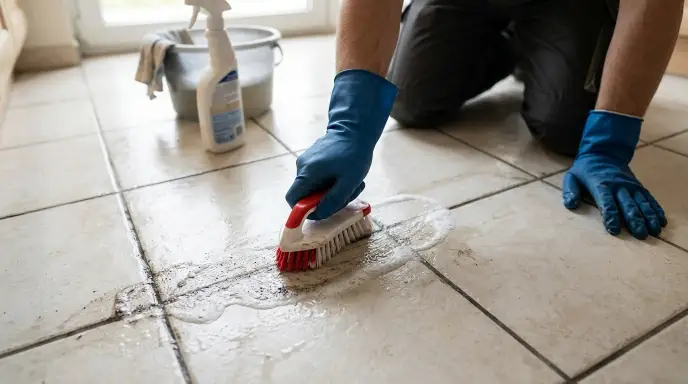
Over years of use, soap scum, hard water deposits, and cleaning product residue build up in the microscopic texture that gives tile its grip in the first place. A textured tile that used to feel secure can turn slippery simply because that texture is buried under a film. Worn or cracked grout, which naturally adds a bit of traction between tiles, loses that effect once it’s smooth or damaged.
- What to do: A pH-neutral cleaner with a stiff, non-metal brush on the tile, then a grout-specific cleaner on the grout lines, can restore a surprising amount of grip. If grout is cracked or missing in places, regrouting a small bathroom floor is relatively low-cost and low-disruption.
- Cost: DIY grout cleaner runs $10 to $20. Professional regrouting for a typical bathroom floor generally falls in the low hundreds of dollars, well under the cost of new tile and labor.
- Limitations: This restores the tile’s original slip resistance; it doesn’t improve on it. If the tile was never very grippy to begin with, even a spotless, freshly regrouted floor may still need one of the treatments above.
- Maintenance: This isn’t a one-time fix so much as a baseline habit. Soap scum and mineral buildup return gradually with normal use, so a periodic deep clean, not just daily wiping, is what keeps this benefit in place.
While non-slip treatments and mats provide temporary relief, replacing slick tiles remains the most reliable long-term solution. Take a closer look at the safest bathroom flooring materials for seniors to compare wet friction ratings and shock-absorbing surfaces.
Comparison Table: Which Method Fits Your Bathroom

| Method | Approx. Cost | DIY or Pro | Main Limitation | Ongoing Maintenance | Best For |
|---|---|---|---|---|---|
| Chemical etching (acid) | $18–$45 DIY; more for pro application | Either, pro recommended for safety | Not safe on natural stone; uneven results on some glazes | pH-neutral cleaning; avoid wax-based products | Ceramic/porcelain tile when other fixes haven’t worked |
| Non-acid coating | ~$0.19–$1 per sq ft | Either | Wears faster in high-traffic spots | Avoid abrasive scrubbers and harsh acidic cleaners | Anyone wanting a gentler, lower-risk process |
| Adhesive strips | $10–$30 | DIY | Protects only the covered spot | Check edges regularly for peeling | High-risk transition points (shower/tub exit) |
| Non-slip mats/rugs | $15–$60 | DIY | Backing degrades with repeated soaking | Inspect backing, not just the top surface | A quick, no-commitment fix |
| Anti-slip spray | $15–$30 | DIY | Least durable option | Reapply every few weeks to months | Renters, budget testing |
| Deep clean + regrout | $10–$20 DIY; low hundreds for pro regrout | Either | Restores original grip, doesn’t improve beyond it | Needs periodic deep cleaning, not just daily wiping | Older bathrooms with buildup or damaged grout |
Prices are general market ranges gathered from retailer and manufacturer listings and vary by region, brand, and bathroom size. Get a couple of local quotes before committing to a professional option.
Mistakes That Can Make a Bathroom Floor More Dangerous
- Assuming matte tile is automatically safe. Some matte-finish tiles turn genuinely slick once wet with soapy water, even without any shine. Looks alone aren’t a reliable guide.
- Using wax-based or oil-based cleaners. These leave a thin film that reduces traction over time, undoing whatever grip the tile or a treatment had.
- Using acid-etch products on natural stone. Marble and similar stone can etch or discolor unevenly. Always check the product label against the tile material first.
- Relying on a rug without checking the backing. A decorative bath mat without a non-slip underside can slide, which can be riskier than no rug at all.
- Treating any of these fixes as permanent. Every method here loses effectiveness over time without the maintenance described above. A treatment applied once and never revisited will quietly stop working.
- Treating the floor as the only variable. A non-slip floor helps less if there’s nothing nearby to hold onto. Floor fixes work best paired with grab bars and better lighting.
When the Fix Needs to Go Beyond the Floor
A non-slip floor treatment solves one part of a bigger picture. If falls are a recurring concern, it’s worth also looking at:
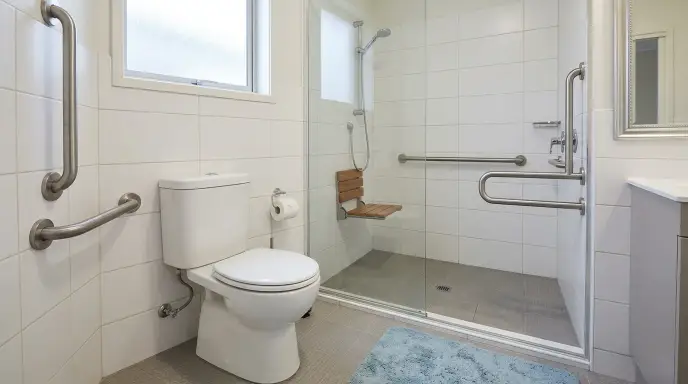
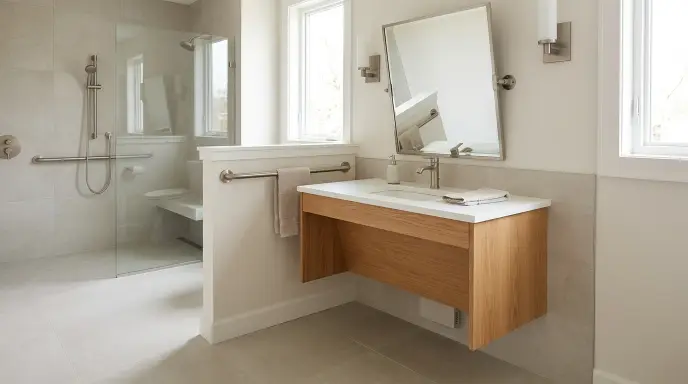
- Grab bar placement near the toilet, tub, and shower entry.
- Lighting, especially for nighttime bathroom trips.
- A professional occupational therapy home assessment, which can catch risks that aren’t obvious to someone living in the space every day.
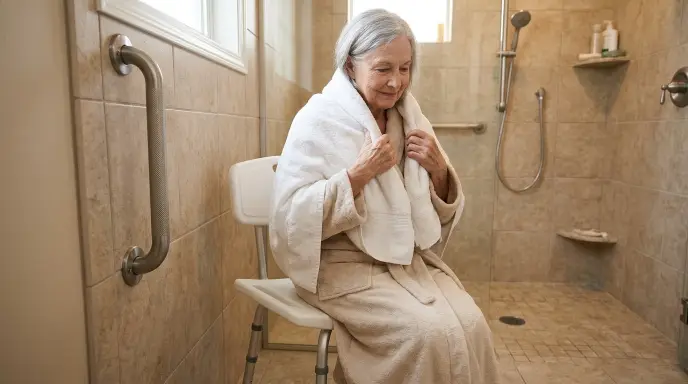
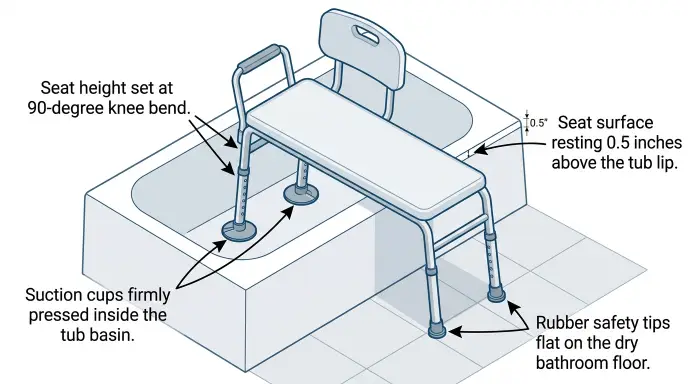
If the existing tile is cracked, uneven, or beyond restoring with the methods above, that’s the point where a full flooring replacement makes sense, ideally chosen using DCOF ratings. Even with textured surfaces, unexpected slips happen. Ensure an immobilized senior isn’t stranded by mounting ground-tier buttons as detailed in our bathroom fall alert placement guide. Invisible soap scum and bath oil films don’t just affect bare feet; they also prevent equipment suction cups from sealing. If you use seated aids, see our guide on stopping shower chair slippage caused by soap scum to clean and reset your contact points.
Frequently Asked Questions
How long does anti-slip floor treatment last?
It depends on the type. Acid-etching and non-acid coatings generally last longest, often several years under normal household use, but only with the right cleaning routine. Sprays and adhesive strips wear out faster and typically need reapplication or replacement within months to a couple of years.
What’s the difference between acid-based and non-acid coatings?
Acid-based treatments chemically etch the tile surface itself, permanently changing its texture. Non-acid coatings sit on top as a thin layer rather than altering the tile. Both increase grip when wet, but acid treatments tend to last longer, while non-acid coatings are generally gentler and lower-risk to apply yourself.
Do non-slip mats work as well as a coating or treatment?
They help in the specific spot they cover, but only that spot, and a poorly secured or worn-out mat can create its own trip hazard. A treatment or coating protects the whole floor surface instead of one section.
Is it safe to do acid etching myself?
It can be, with the right precautions: gloves, eye protection, ventilation, and following the product’s dwell time exactly. If you’re not comfortable working with chemicals, or the bathroom has natural stone tile, hire a professional.
What DCOF rating is considered safe for a bathroom floor?
The tile industry’s official baseline is a wet DCOF of 0.42 or higher, per ANSI A326.3. Some manufacturers recommend a higher figure, around 0.60, for wet areas they consider especially high-risk, though that’s a manufacturer recommendation rather than a formal standard. Either number is a useful reference point when comparing tile or judging how much a treatment needs to improve on what you already have.
How This Guide Was Put Together
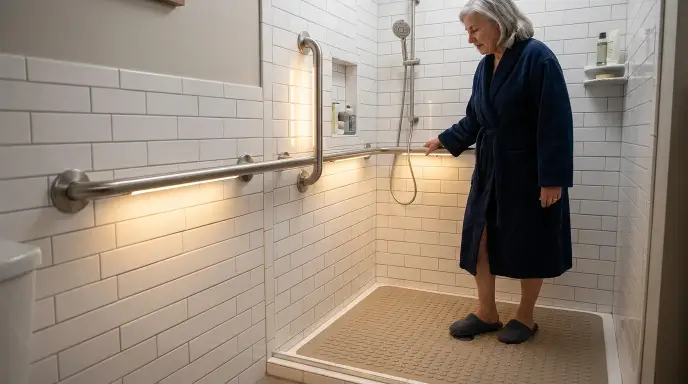
This article was researched against CDC emergency-department injury data, the ANSI A326.3 flooring standard, and product specifications and pricing from multiple manufacturers and retailers, cross-checked against roughly a dozen competing guides on the same topic to identify what most of them leave out: regrouting as a fix, DIY chemical safety, ongoing maintenance requirements, and mat-related trip hazards specifically. It has not been reviewed by a licensed contractor or occupational therapist at the time of publishing — if your site has one on staff or on retainer, get their sign-off before this goes live and add their name and credential here. That single addition will do more for trust and rankings than anything else on this page.
References
- CDC, Nonfatal Bathroom Injuries Among Persons Aged ≥15 Years — United States, 2008, MMWR, June 10, 2011: https://www.cdc.gov/mmwr/preview/mmwrhtml/mm6022a1.htm
- ANSI A326.3 DCOF standard overview, MSI Surfaces: https://www.msisurfaces.com/Blogs/post/2025/04/10/what-is-dcof-rating-and-how-to-use-for-flooring-selection.aspx
- DCOF rating explainer, Arizona Tile: https://www.arizonatile.com/?p=320953

9 Comments